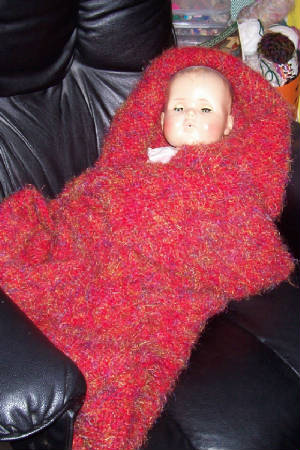
This one builds on the mitered blankie pattern:
You will have an L-shaped scarf/shawl that wraps nicely
without a lot of
bulk.
Bunch of yarn, any weight, any amount (you can use odd balls, or stuff
purchased specifically
for this project. You can use a single strand or
double. You can use various weights, combining them to get a similar weight
(4
fingering/baby/sock=3 sport=2 worsted=1 bulky, for example)
Figure your gauge. (Either use the number on the ball band,
or cast on about
30 stitches and knit a square and measure. This is not rocket surgery!
Determine how big you want
your finished shawl to be--i.e. the "wingspan" of
your recipient. The easiest way to do this if your "victim" isn't handy
is
to hold a tape measure at the 1 in one hand and measure from the middle of
your neck to your wrist. Then add 6-12"
to that measurement (call that the
side measurement
"S"), Multiply that by your gauge ("G") and multiply the result
by 2 to get
the number of stitches to cast on ("C"):
C= S X G X 2 (I want 45", my gauge is 4 stitches to the
inch, I
cast on 45 X 4 X 2 or 360 stitches)
WS: Knit one row, placing a marker at the middle. In my example, the
marker
goes between stitch 180 and 181.
All RS rows: Knit to 2 stitches before the marker, K 2 tog, slip marker,
k 2
tog. Knit to the end.
All WS rows: K across, slipping the marker.
When the knitting measures about 15-18"
from the cast on edge, bind off
loosely on the wrong side. Weave in the ends.
This is very pretty if made on larger
than expected needles (a size 10 for
worsted weight, size 8 for DK for example) and/or if you throw in a YO, k2
tog
row every 6 rows or so.
Ann
http://sheepshots.blogspot.com